Before you start please make sure that you installed @roadiehq/backstage-plugin-aws-auth plugin first.
Install the plugin into Backstage.
yarn add @roadiehq/backstage-plugin-aws-lambdaAdd Card to your Backstage catalog pages.
// packages/app/src/components/catalog/EntityPage.tsx
import {
  EntityAWSLambdaOverviewCard,
  isAWSLambdaAvailable,
} from '@roadiehq/backstage-plugin-aws-lambda';
// ...
const OverviewContent = ({ entity }: { entity: Entity }) => (
  <Grid container spacing={3} alignItems="stretch">
    <EntitySwitch>
      <EntitySwitch.Case if={isAWSLambdaAvailable}>
        <Grid item md={6}>
          <EntityAWSLambdaOverviewCard />
        </Grid>
      </EntitySwitch.Case>
      {/*...*/}
    </EntitySwitch>
    {/*...*/}
  </Grid>
);
Found a mistake? Update these instructions.
Don't want to spend your time installing and manually upgrading each Backstage plugin?
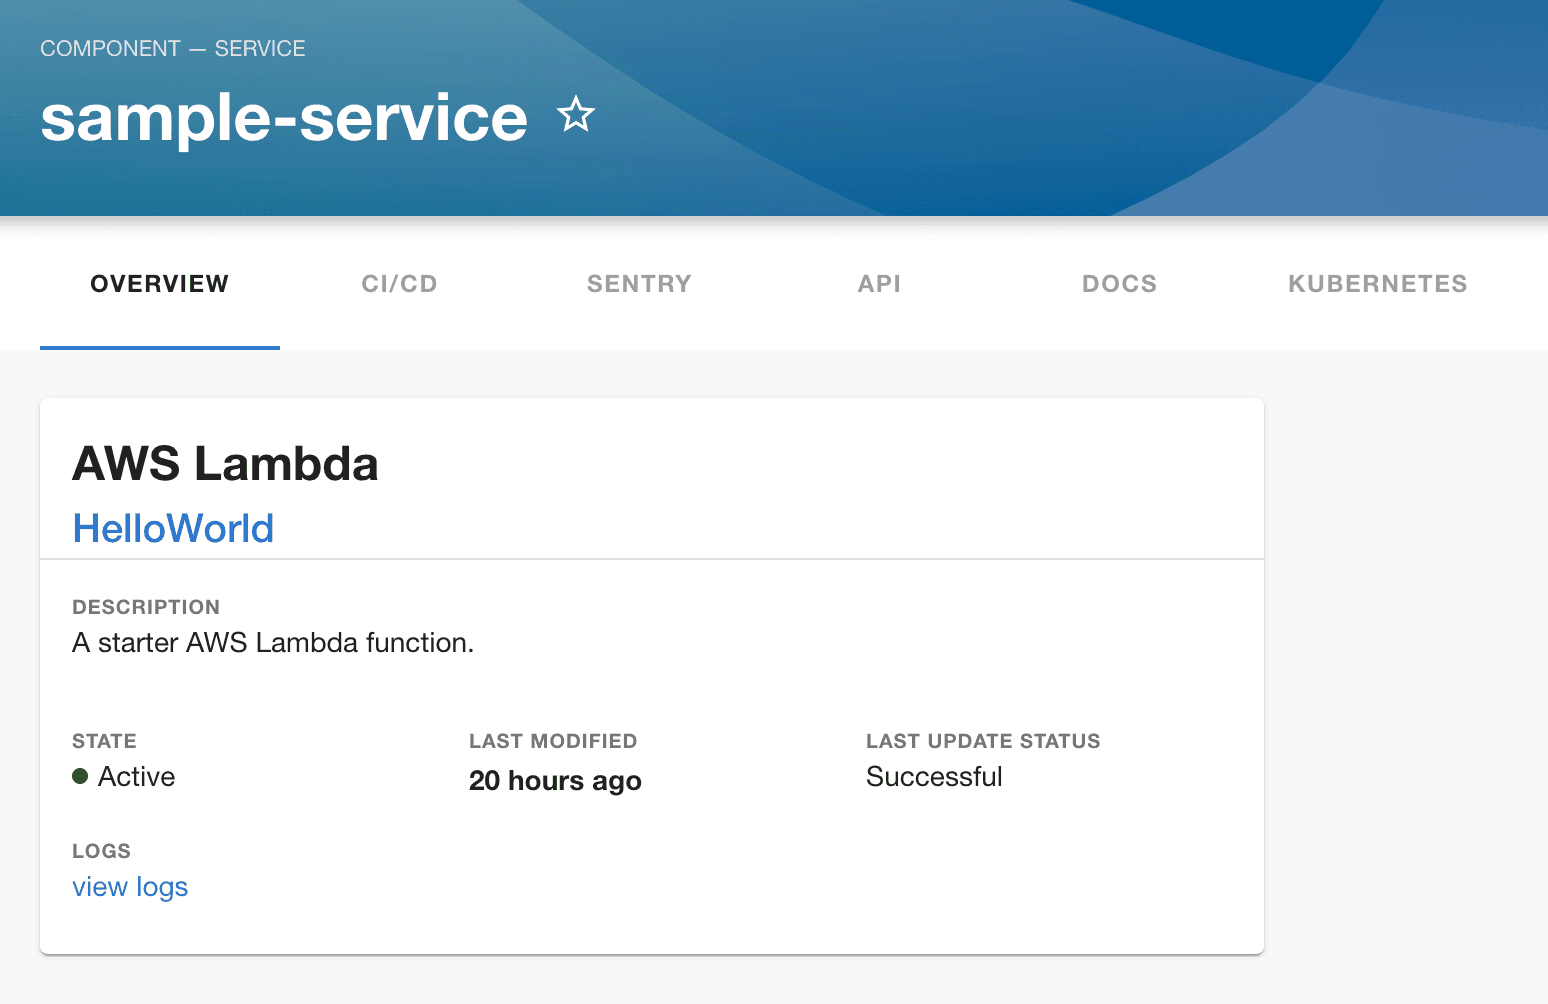
How it looks

Things to know
Authentication
In order to perform requests to AWS lambda plugin you must install @roadiehq/backstage-plugin-aws-auth backend plugin.
Then ask backend for temporary credentials via /api/aws/credentials.
You can select what functions will be shown in the table using your yaml config file:
metadata:
  annotations:
    aws.com/lambda-function-name: HelloWorld
    aws.com/lambda-region: us-east-1
Become a Backstage expert
To get the latest news, deep dives into Backstage features, and a roundup of recent open-source action, sign up for Roadie's Backstage Weekly. See recent editions.
